DevOps Challenge Part A
Code:
The repo for this project can be found here.Creating and deploying k8s manifests for Rocket.chat
We can make use of the official Docker image available for Rocket.chat. The application itself just needs a MongoDB database to get up and running and in the context of Kubernetes, that means creating a StatefulSet, for which we will also configure a volume claim to persist data for the application. Applying the rocketchat.yaml file will create a number of resources, namely the namespace, the service for the MongoDB, the statefulset again for the MongoDB, the deployment, as well as the service for the application itself.
kubectl apply -f rocketchat.yaml
From there, creating a MongoDB replica set is pretty straightforward — the StatefulSet resource allows for consistent identification of pods where each pod gets an ordinal name rather than a random name.
With the Service and the StatefulSet for the MongoDB in place, we can go ahead and configure the replicas. Since we set the number of replicas to 2 in our statefulset configuration, our MongoDB pods will be named rocketmongo-0 and rocketmongo-1. Note that the right way or the automatic way to configure the MongoDB replica set is by using a sidecar container, but since this is a quick and dirty demo I am opting to do it manually.
Starting a bash shell inside the mongodb container:
kubectl -n rocketchat exec rocketmongo-0 rocketmongo -it -- bash
Once in, we check the FQDN for the container, which returns the following in our case
root@rocketmongo-0:/# hostname -f
rocketmongo-0.rocketmongo.rocketchat.svc.cluster.local
Similarly, the rocketmongo-1’s FQDN is rocketmongo-1.rocketmongo.rocketchat.svc.cluster.local
Let’s go ahead and configure mongo:
root@rocketmongo-0:/# mongo

> rs.initiate({ _id: "rs0", version: 1, members: [  { _id: 0, host: "rocketmongo-0.rocketmongo.rocketchat.svc.cluster.local:27017" },  { _id: 1, host: "rocketmongo-1.rocketmongo.rocketchat.svc.cluster.local:27017" } ]});
{ "ok" : 1 }
To verify:
rs0:SECONDARY> rs.config()
{
	"_id" : "rs0",
	"version" : 1,
	"protocolVersion" : NumberLong(1),
	"writeConcernMajorityJournalDefault" : true,
	"members" : [
		{
			"_id" : 0,
			"host" : "rocketmongo-0.rocketmongo.rocketchat.svc.cluster.local:27017",
			"arbiterOnly" : false,
			"buildIndexes" : true,
			"hidden" : false,
			"priority" : 1,
			"tags" : {

			},
			"slaveDelay" : NumberLong(0),
			"votes" : 1
		},
		{
			"_id" : 1,
			"host" : "rocketmongo-1.rocketmongo.rocketchat.svc.cluster.local:27017",
			"arbiterOnly" : false,
			"buildIndexes" : true,
			"hidden" : false,
			"priority" : 1,
			"tags" : {

			},
			"slaveDelay" : NumberLong(0),
			"votes" : 1
		}
	],
	"settings" : {
		"chainingAllowed" : true,
		"heartbeatIntervalMillis" : 2000,
		"heartbeatTimeoutSecs" : 10,
		"electionTimeoutMillis" : 10000,
		"catchUpTimeoutMillis" : -1,
		"catchUpTakeoverDelayMillis" : 30000,
		"getLastErrorModes" : {

		},
		"getLastErrorDefaults" : {
			"w" : 1,
			"wtimeout" : 0
		},
		"replicaSetId" : ObjectId("6281f013443a2f79c81e162b")
	}
}
rs0:PRIMARY> rs.isMaster()
{
	"hosts" : [
		"rocketmongo-0.rocketmongo.rocketchat.svc.cluster.local:27017",
		"rocketmongo-1.rocketmongo.rocketchat.svc.cluster.local:27017"
	],
	"setName" : "rs0",
	"setVersion" : 1,
	"ismaster" : true,
	"secondary" : false,
	"primary" : "rocketmongo-0.rocketmongo.rocketchat.svc.cluster.local:27017",
	"me" : "rocketmongo-0.rocketmongo.rocketchat.svc.cluster.local:27017",
	"electionId" : ObjectId("7fffffff0000000000000001"),
	"lastWrite" : {
		"opTime" : {
			"ts" : Timestamp(1652682800, 150),
			"t" : NumberLong(1)
		},
		"lastWriteDate" : ISODate("2022-05-16T06:33:20Z"),
		"majorityOpTime" : {
			"ts" : Timestamp(1652682800, 83),
			"t" : NumberLong(1)
		},
		"majorityWriteDate" : ISODate("2022-05-16T06:33:20Z")
	},
	"maxBsonObjectSize" : 16777216,
	"maxMessageSizeBytes" : 48000000,
	"maxWriteBatchSize" : 100000,
	"localTime" : ISODate("2022-05-16T06:33:20.307Z"),
	"logicalSessionTimeoutMinutes" : 30,
	"minWireVersion" : 0,
	"maxWireVersion" : 7,
	"readOnly" : false,
	"ok" : 1,
	"operationTime" : Timestamp(1652682800, 150),
	"$clusterTime" : {
		"clusterTime" : Timestamp(1652682800, 150),
		"signature" : {
			"hash" : BinData(0,"AAAAAAAAAAAAAAAAAAAAAAAAAAA="),
			"keyId" : NumberLong(0)
		}
	}
}
rs0:PRIMARY> rs.status()
{
	"set" : "rs0",
	"date" : ISODate("2022-05-16T06:33:42.684Z"),
	"myState" : 1,
	"term" : NumberLong(1),
	"syncingTo" : "",
	"syncSourceHost" : "",
	"syncSourceId" : -1,
	"heartbeatIntervalMillis" : NumberLong(2000),
	"optimes" : {
		"lastCommittedOpTime" : {
			"ts" : Timestamp(1652682818, 2),
			"t" : NumberLong(1)
		},
		"readConcernMajorityOpTime" : {
			"ts" : Timestamp(1652682818, 2),
			"t" : NumberLong(1)
		},
		"appliedOpTime" : {
			"ts" : Timestamp(1652682818, 2),
			"t" : NumberLong(1)
		},
		"durableOpTime" : {
			"ts" : Timestamp(1652682818, 2),
			"t" : NumberLong(1)
		}
	},
	"electionCandidateMetrics" : {
		"lastElectionReason" : "electionTimeout",
		"lastElectionDate" : ISODate("2022-05-16T06:33:01.852Z"),
		"electionTerm" : NumberLong(1),
		"lastCommittedOpTimeAtElection" : {
			"ts" : Timestamp(0, 0),
			"t" : NumberLong(-1)
		},
		"lastSeenOpTimeAtElection" : {
			"ts" : Timestamp(1652682771, 1),
			"t" : NumberLong(-1)
		},
		"numVotesNeeded" : 2,
		"priorityAtElection" : 1,
		"electionTimeoutMillis" : NumberLong(10000),
		"numCatchUpOps" : NumberLong(0),
		"newTermStartDate" : ISODate("2022-05-16T06:33:01.894Z"),
		"wMajorityWriteAvailabilityDate" : ISODate("2022-05-16T06:33:03.192Z")
	},
	"members" : [
		{
			"_id" : 0,
			"name" : "rocketmongo-0.rocketmongo.rocketchat.svc.cluster.local:27017",
			"health" : 1,
			"state" : 1,
			"stateStr" : "PRIMARY",
			"uptime" : 266,
			"optime" : {
				"ts" : Timestamp(1652682818, 2),
				"t" : NumberLong(1)
			},
			"optimeDate" : ISODate("2022-05-16T06:33:38Z"),
			"syncingTo" : "",
			"syncSourceHost" : "",
			"syncSourceId" : -1,
			"infoMessage" : "could not find member to sync from",
			"electionTime" : Timestamp(1652682781, 1),
			"electionDate" : ISODate("2022-05-16T06:33:01Z"),
			"configVersion" : 1,
			"self" : true,
			"lastHeartbeatMessage" : ""
		},
		{
			"_id" : 1,
			"name" : "rocketmongo-1.rocketmongo.rocketchat.svc.cluster.local:27017",
			"health" : 1,
			"state" : 2,
			"stateStr" : "SECONDARY",
			"uptime" : 50,
			"optime" : {
				"ts" : Timestamp(1652682818, 2),
				"t" : NumberLong(1)
			},
			"optimeDurable" : {
				"ts" : Timestamp(1652682818, 2),
				"t" : NumberLong(1)
			},
			"optimeDate" : ISODate("2022-05-16T06:33:38Z"),
			"optimeDurableDate" : ISODate("2022-05-16T06:33:38Z"),
			"lastHeartbeat" : ISODate("2022-05-16T06:33:41.928Z"),
			"lastHeartbeatRecv" : ISODate("2022-05-16T06:33:41.109Z"),
			"pingMs" : NumberLong(0),
			"lastHeartbeatMessage" : "",
			"syncingTo" : "rocketmongo-0.rocketmongo.rocketchat.svc.cluster.local:27017",
			"syncSourceHost" : "rocketmongo-0.rocketmongo.rocketchat.svc.cluster.local:27017",
			"syncSourceId" : 0,
			"infoMessage" : "",
			"configVersion" : 1
		}
	],
	"ok" : 1,
	"operationTime" : Timestamp(1652682818, 2),
	"$clusterTime" : {
		"clusterTime" : Timestamp(1652682818, 2),
		"signature" : {
			"hash" : BinData(0,"AAAAAAAAAAAAAAAAAAAAAAAAAAA="),
			"keyId" : NumberLong(0)
		}
	}
}

rs0:PRIMARY> exit
bye
root@rocketmongo-0:/# exit
exit
There you go, now that we have MongoDB up and running, let’s go ahead and deploy the rocket chat server and its service. Note that we are running MetalLB for load balancer. pay attention in your environment variable, and make sure your URI connection is pointed to the replica set, otherwise you will not be able to connect if mongo0 is no longer the PRIMARY and get a MongoError: not master error, in situations such as after a reboot. https://www.mongodb.com/docs/manual/reference/connection-string/#examples
devops@k8s-master:~/part-a/k8s-manifests$ k -n rocketchat get svc
NAME                TYPE           CLUSTER-IP       EXTERNAL-IP     PORT(S)          AGE
rocketchat-server   LoadBalancer   10.100.160.154   192.168.1.220   3000:32598/TCP   7m9s
rocketmongo         ClusterIP      None             <none>          27017/TCP        7m9
we can go ahead and access our rocketchat server’s web interface by pointing our browser to the external ip assigned and you will be greeted by the admin setup page. Go ahead and fill out the account information.
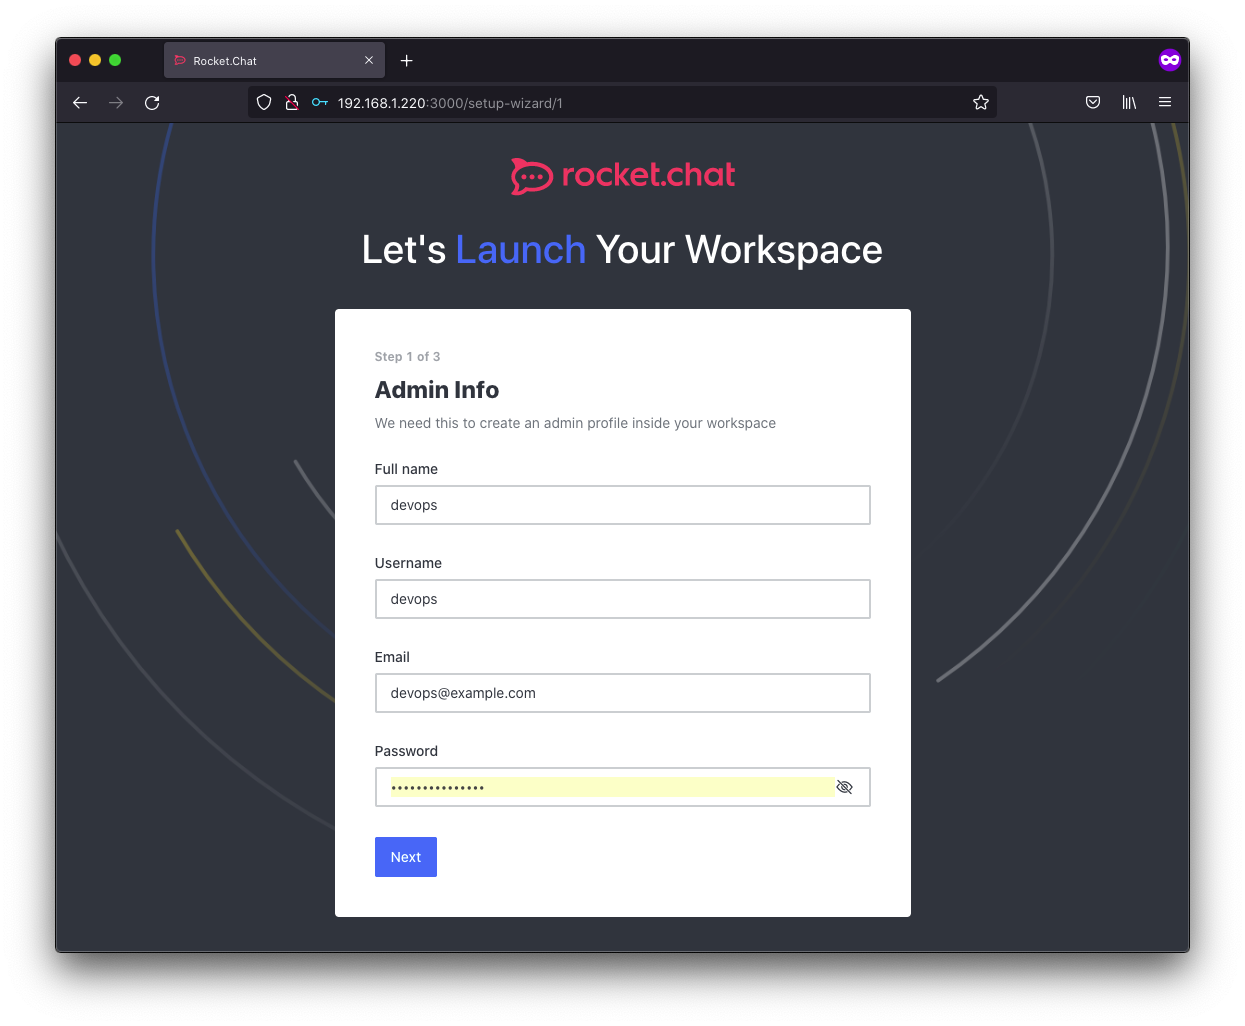
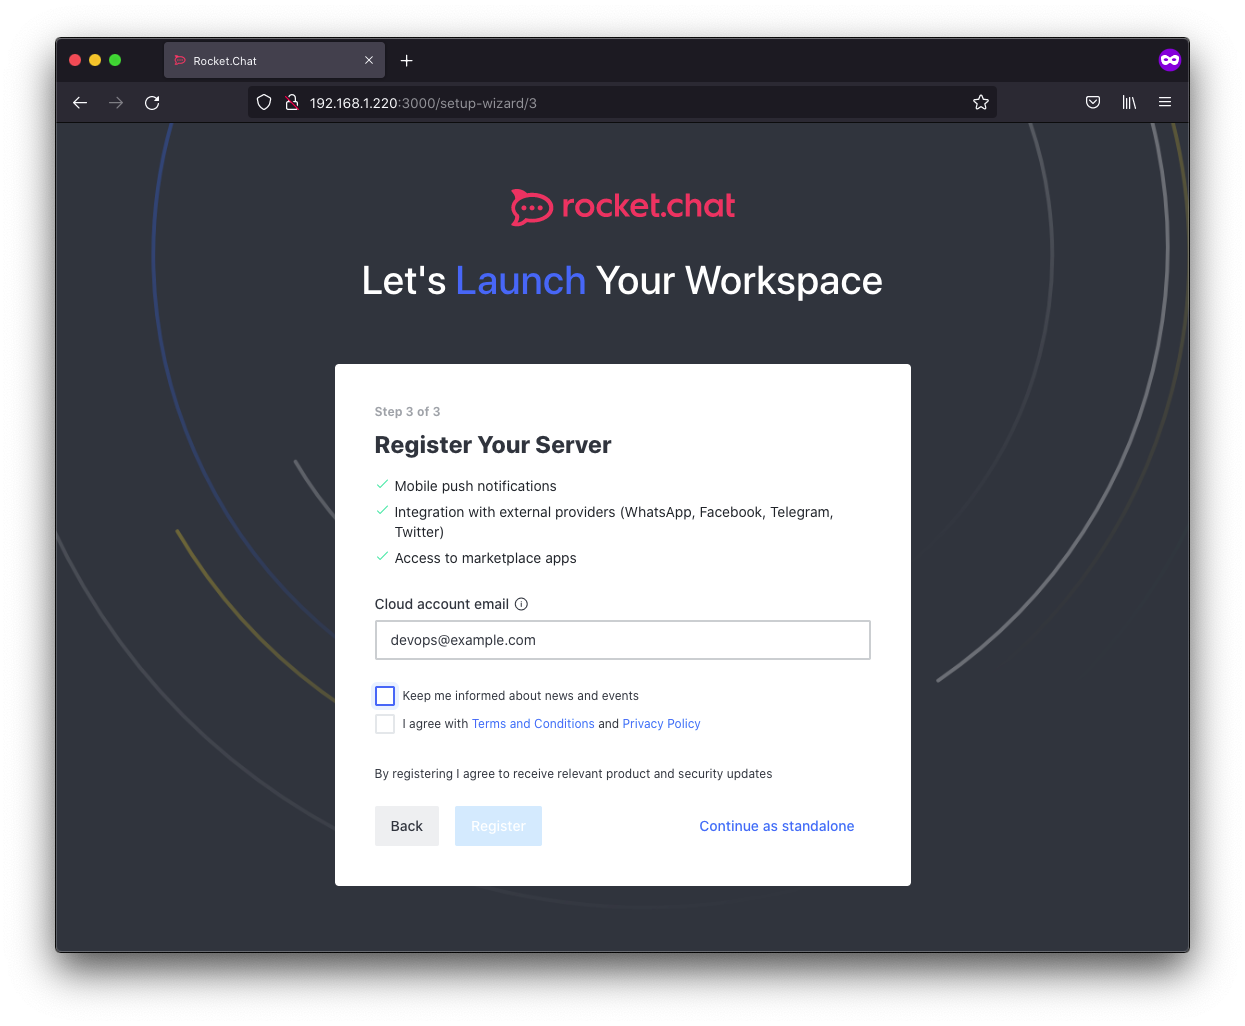
That’s it. That’s one way to deploy Rocketchat.
go ahead and register a new account and the first account will become the admin account.
Creating and deploying k8s manifests for GitLab
To install gitlab using manifest is similar to docker. The main thing to configure here is persistent volumes and the ports for http, https and ssh.
kubectl apply -f gitlab.yaml
gitlab.yaml
Applying the manifest will create the following:
kubectl apply -f gitlab.yaml
devops@k8s-master:~/part-a$ k -n gitlab get all
NAME                          READY   STATUS    RESTARTS   AGE
pod/gitlab-848789fcd6-ktmct   1/1     Running   0          25m

NAME             TYPE           CLUSTER-IP      EXTERNAL-IP     PORT(S)                                   AGE
service/gitlab   LoadBalancer   10.103.202.16   192.168.1.221   22:30001/TCP,80:30002/TCP,443:30003/TCP   24h

NAME                     READY   UP-TO-DATE   AVAILABLE   AGE
deployment.apps/gitlab   1/1     1            1           25m

NAME                                DESIRED   CURRENT   READY   AGE
replicaset.apps/gitlab-848789fcd6   1         1         1       25m
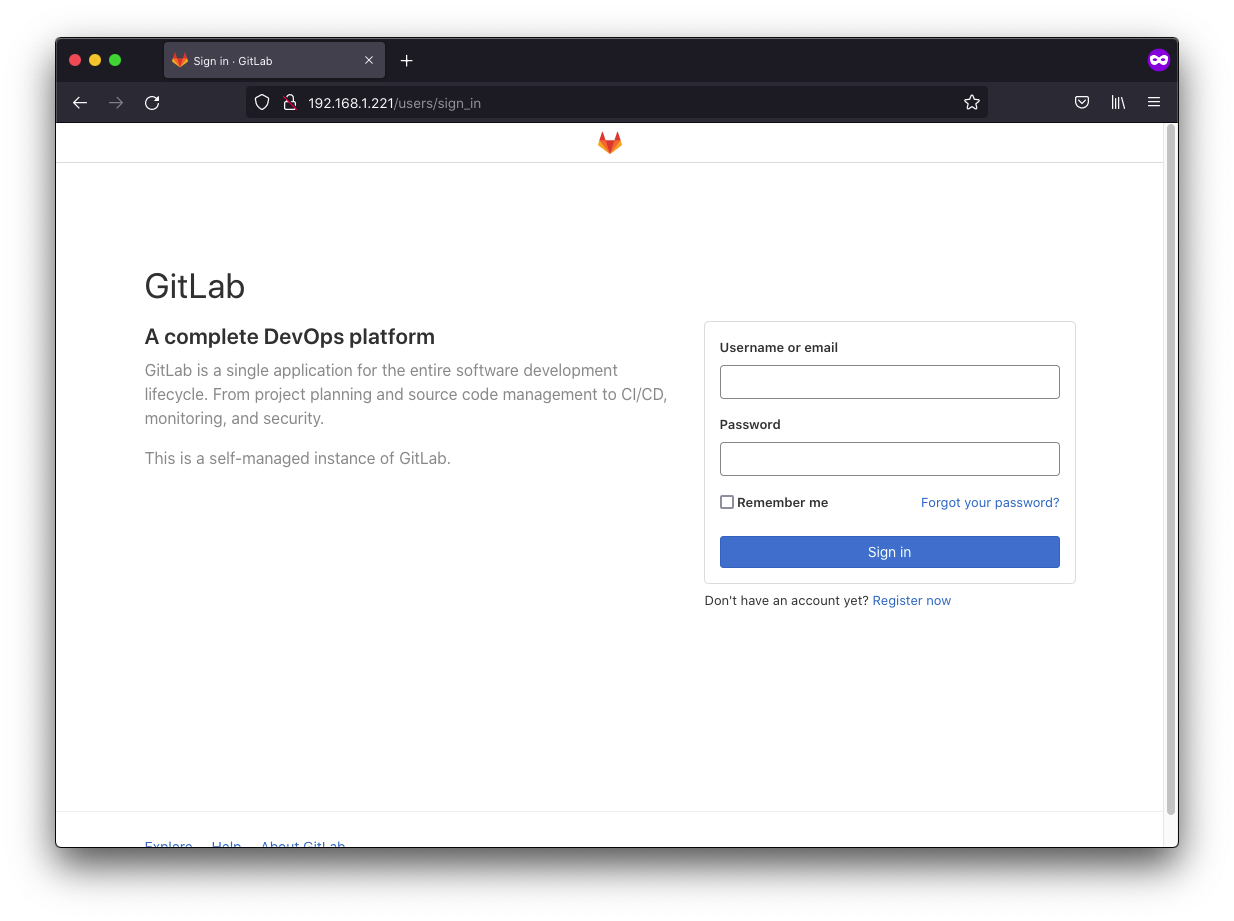
Point your browser to the external-ip and you will be greeted by this page
Troubleshooting Tips:
Here are a few commands that may help troubleshoot if you run into problems.
- Here’s how one can watch the log as the container starts:
kubectl -n gitlab logs gitlab-848789fcd6-2h9td --follow
- You can get a shell in the pod by doing the following:
kubectl -n gitlab exec -it gitlab-848789fcd6-ggm76 -- bash
- Run
gitlab-ctl statusto show status, which can get you some general idea if anything such as puma keeps restarting:
gitlab-ctl status
run: alertmanager: (pid 2095063) 89371s; run: log: (pid 1721296) 186791s
run: gitaly: (pid 2095078) 89371s; run: log: (pid 1720630) 186892s
run: gitlab-exporter: (pid 2095108) 89370s; run: log: (pid 1721103) 186809s
run: gitlab-workhorse: (pid 2095110) 89369s; run: log: (pid 1721005) 186828s
run: logrotate: (pid 2322981) 2968s; run: log: (pid 1720469) 186905s
run: nginx: (pid 2095129) 89369s; run: log: (pid 2046027) 105649s
run: node-exporter: (pid 2095213) 89368s; run: log: (pid 1721082) 186817s
run: postgres-exporter: (pid 2095220) 89368s; run: log: (pid 1721317) 186787s
run: postgresql: (pid 2095232) 89367s; run: log: (pid 1720718) 186885s
run: prometheus: (pid 2095242) 89367s; run: log: (pid 1721158) 186799s
run: puma: (pid 2330788) 21s; run: log: (pid 2046012) 105651s
run: redis: (pid 2095285) 89366s; run: log: (pid 1720504) 186901s
run: redis-exporter: (pid 2095291) 89366s; run: log: (pid 1721130) 186803s
run: sidekiq: (pid 2095299) 89362s; run: log: (pid 1720957) 186835s
-
You can restart gitlab by running
gitlab-ctl restart. -
You can check a service’s log e.g.
gitlab-ctl tail puma. -
You can also check in /var/log/gitlab/gitlab-rails if gitlab-rails has some issues. Check
application.logandproduction.log.`
While we are inside our gitlab instance’s bash shell, we may as well configure the following which we will need for the tasks to follow. Note that ordinarily these configs should be passed to the container as environment variables in the deployment manifest, which is the right way to do it, though the more right way is just use the official helm chart and edit its values to suit your use case. But since it’s my first time with Gitlab there’s some trial and error involved so I decided to configure it by editing /etc/gitlab/gitlab.rb directly as if it was a bare-metal installation:
external_url is required
external_url "http://192.168.1.221"
while we are there, we will also want to enable the Gitlab Agent Server (KAS) which we will need later to deploy our app to our Kubernetes cluster using the pipeline we will build later ##! Enable GitLab KAS
gitlab_kas['enable'] = true
Reconfigure Omnibus GitLab with:
gitlab-ctl reconfigure
To log into your root account, one way to reset the password is by issuing the following command:
devops@k8s-master:~$ k -n gitlab exec -it gitlab-848789fcd6-2p885 -- gitlab-rake "gitlab:password:reset[root]"
Enter password:
Confirm password:
Password successfully updated for user with username root.
Refer to official documentation for other ways to set the password.
By default, Omnibus GitLab automatically generates a password for the initial administrator user account (root) and stores it to /etc/gitlab/initial_root_password for at least 24 hours. For security reasons, after 24 hours, this file is automatically removed by the first gitlab-ctl reconfigure.
Next thing you will want to do is set up a proper user account and start a new repo for the webhook-app that we will work on in the next step.
Webhook App
Code:
The source for the webhook app can be found here.The webhook app is very straightforward. I opted to use Node.js with Express to create the RESI API. The main thing is grab the token from our rocketchat’s incoming webhook and to keep things simple we will not have any authentication since there’s no requirement for it.
Configuring GitLab to build and deploy webhook-app
Here comes the tricky part of this exercise. We have to set up the gitlab runner
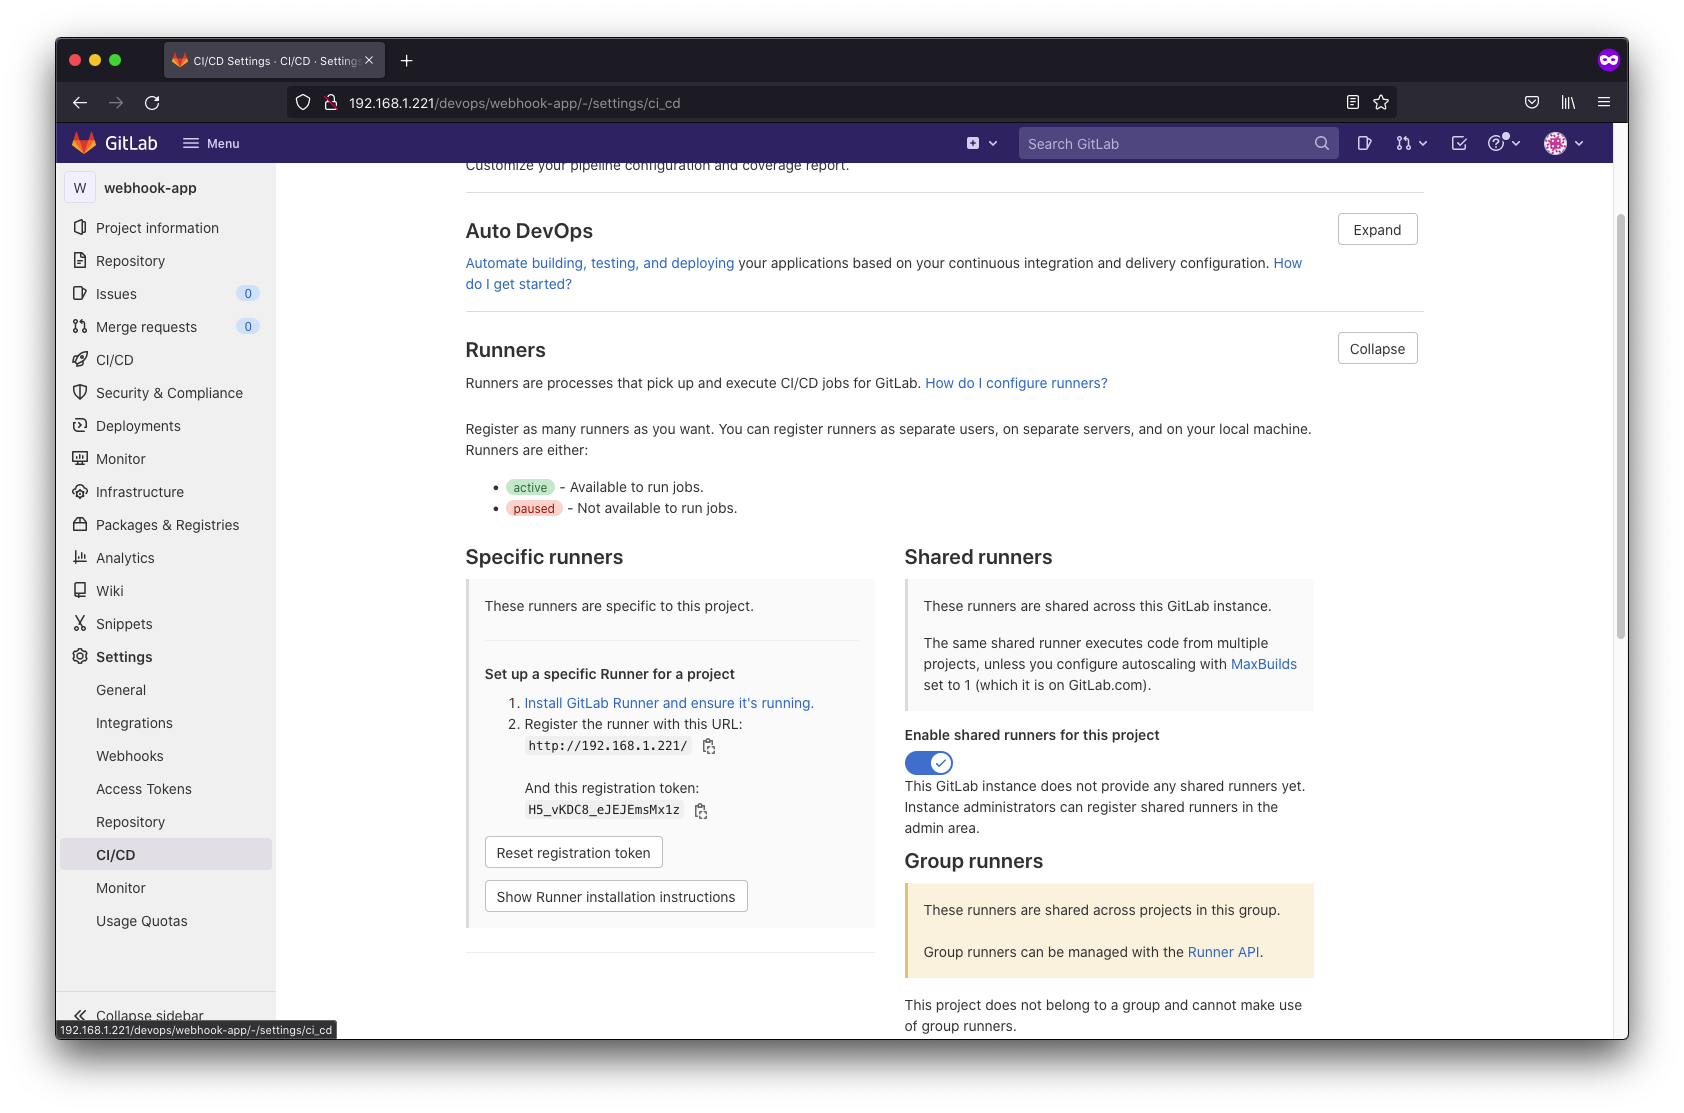
We will install the helm chart way to install our gitlab runner and you are going to want to modify the default values for the helm chart. Once you have successfully deployed your runner, hit refresh on the settings/CICD page and you should see the runners shown as available.
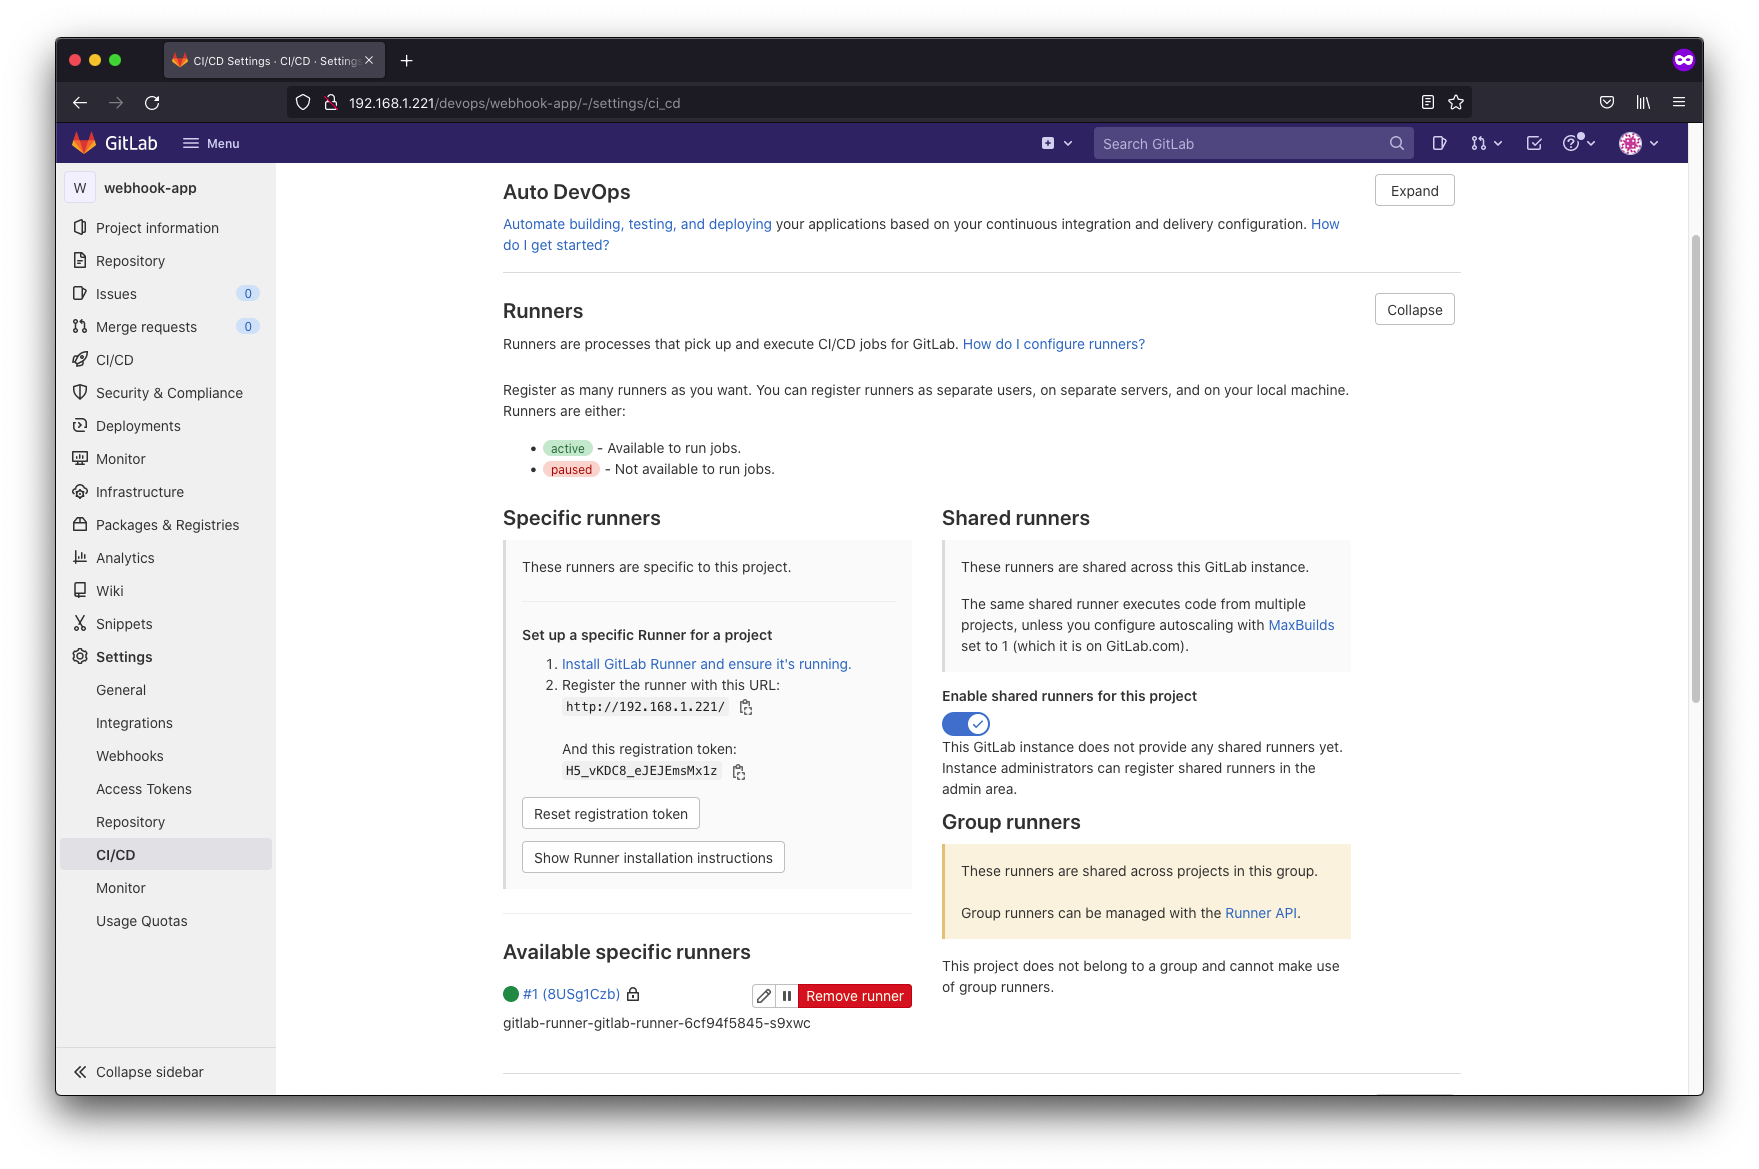
More official Gitlab documentation can be found here.
Next, we can create our gitlab-ci.yml script (see source) and add our environment variables to gitlab
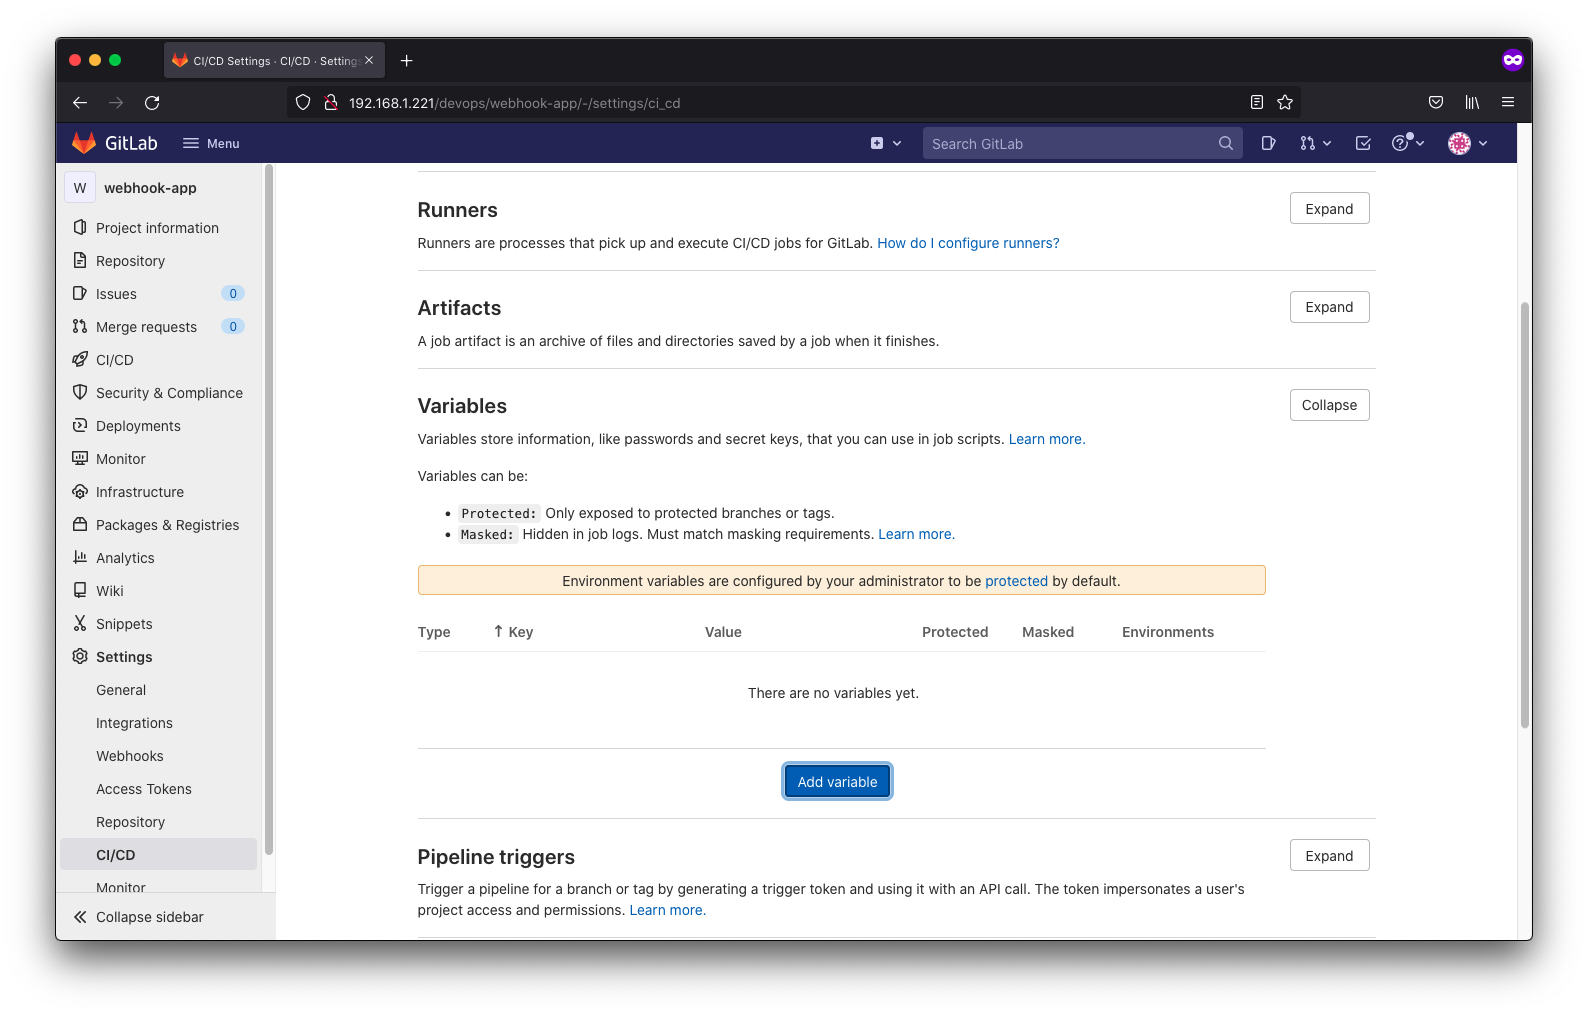
In our case, we are adding our docker username and password and that will be it as far as configuring gitlab goes for our build stage.
For simplicity, we will skip the test stage for our simple app.
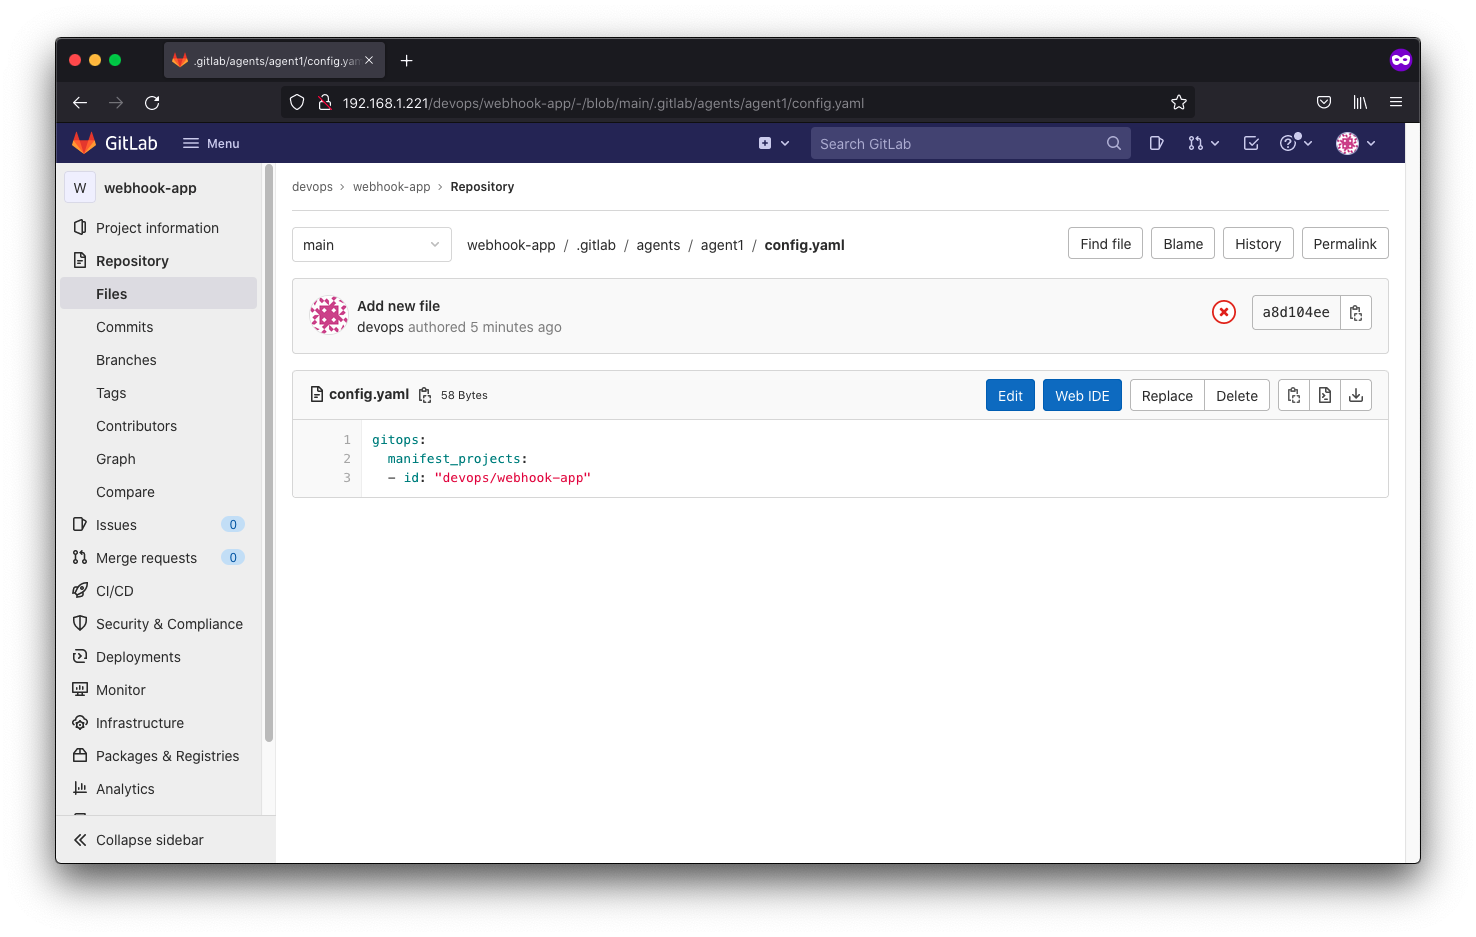
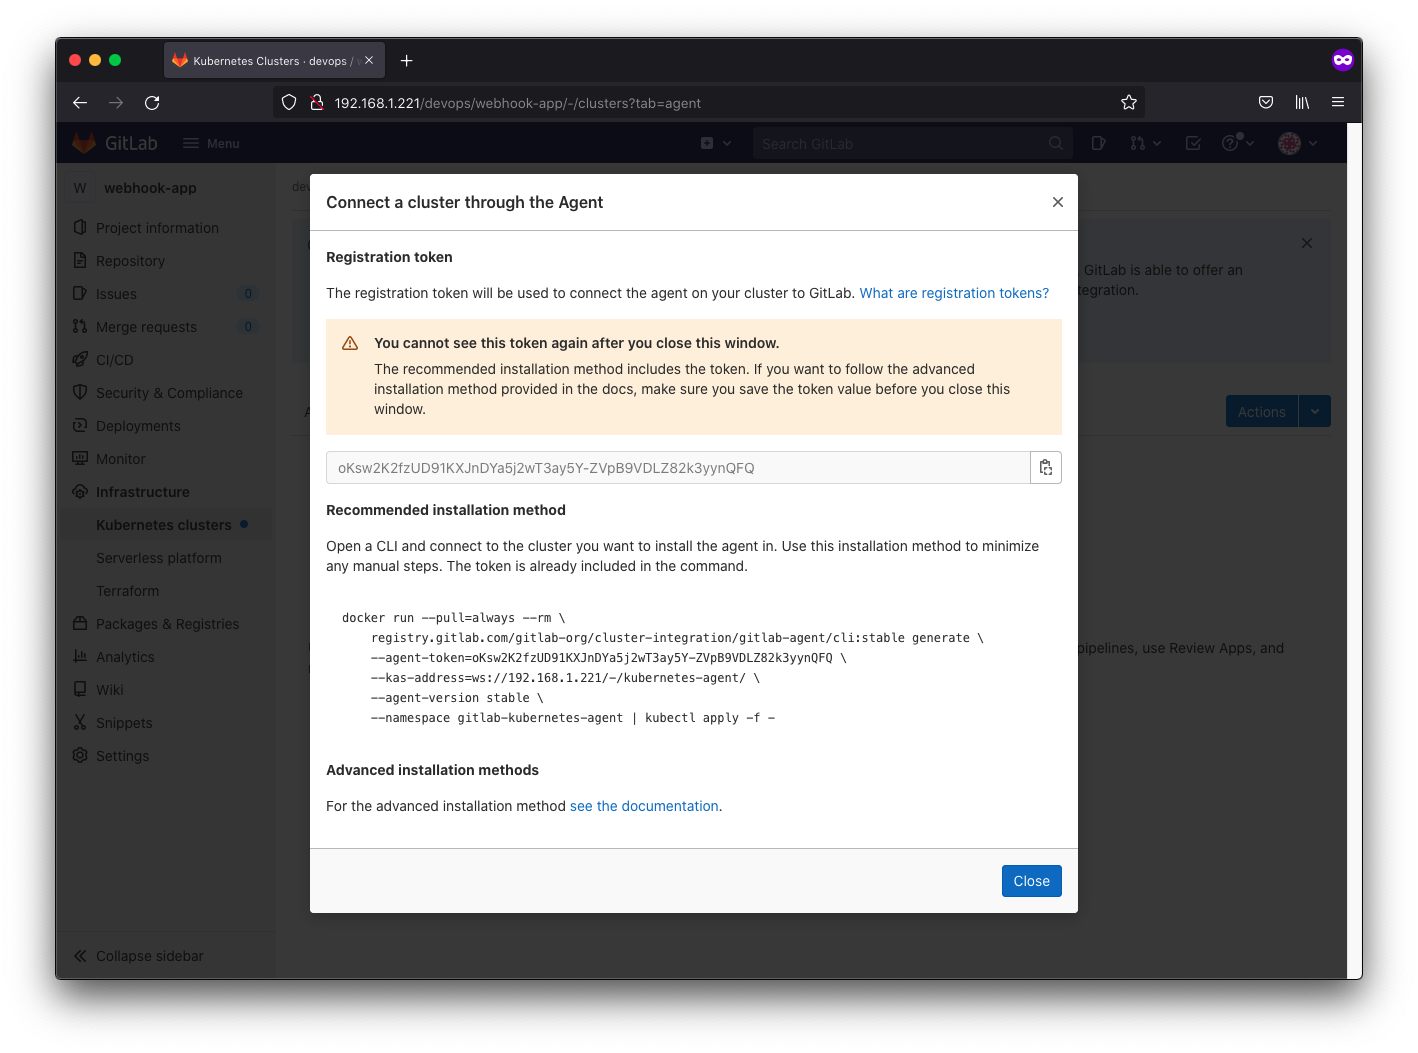
As for the deploy stage, we will need to configure the agent so that gitlab can deploy to our cluster.
To do that, follow official documentation, and here’s a video to walk you through the process as well.
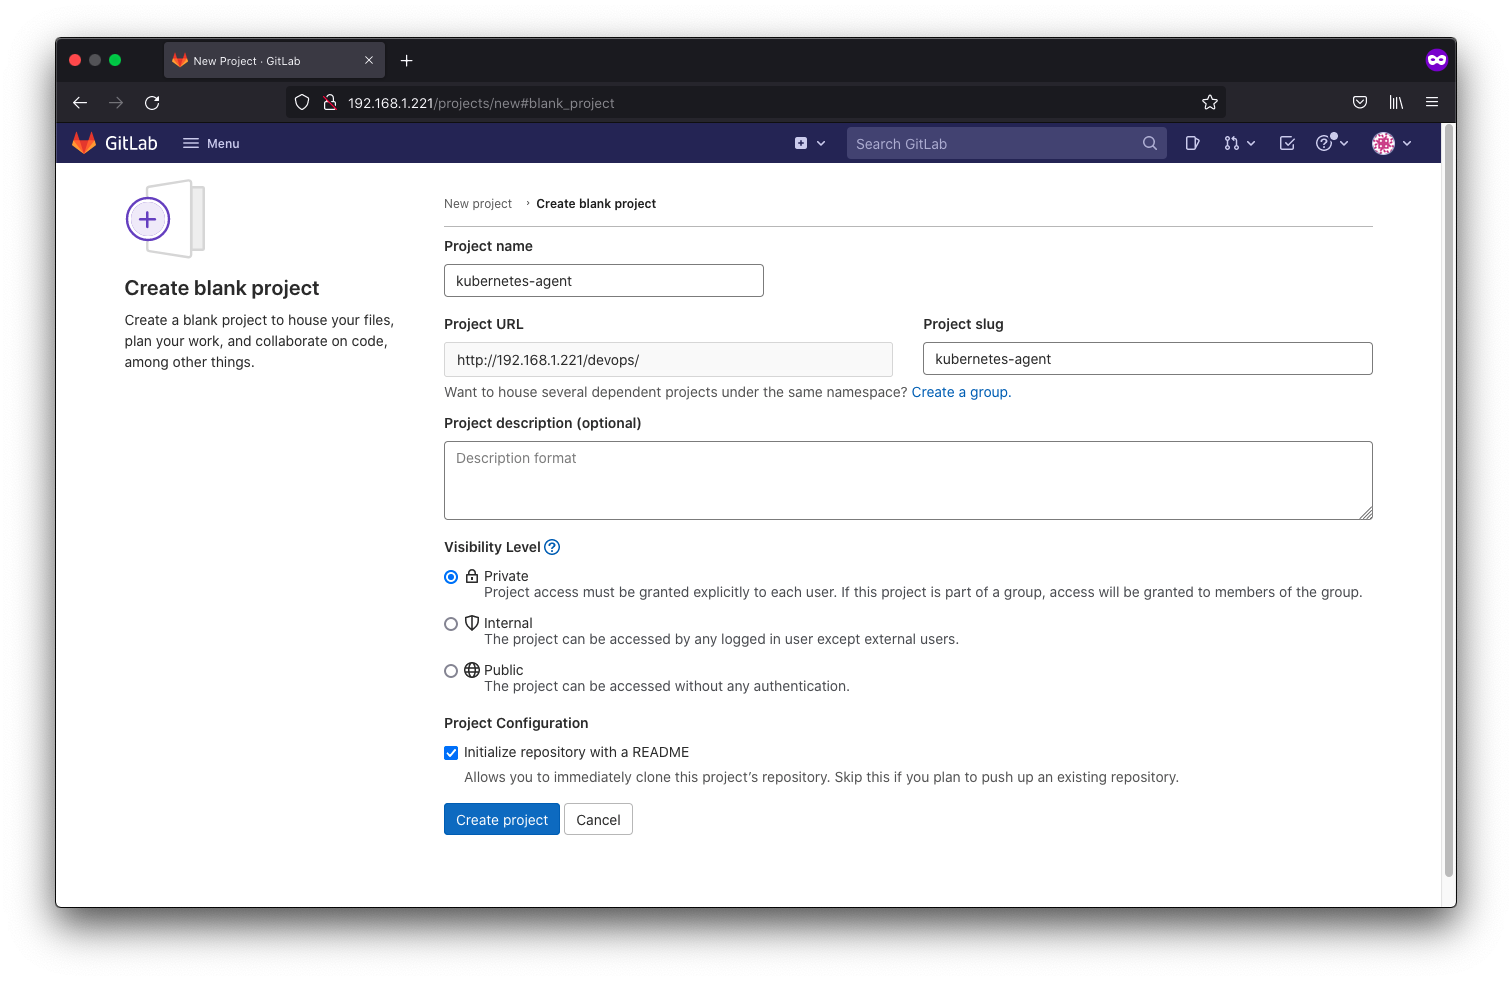
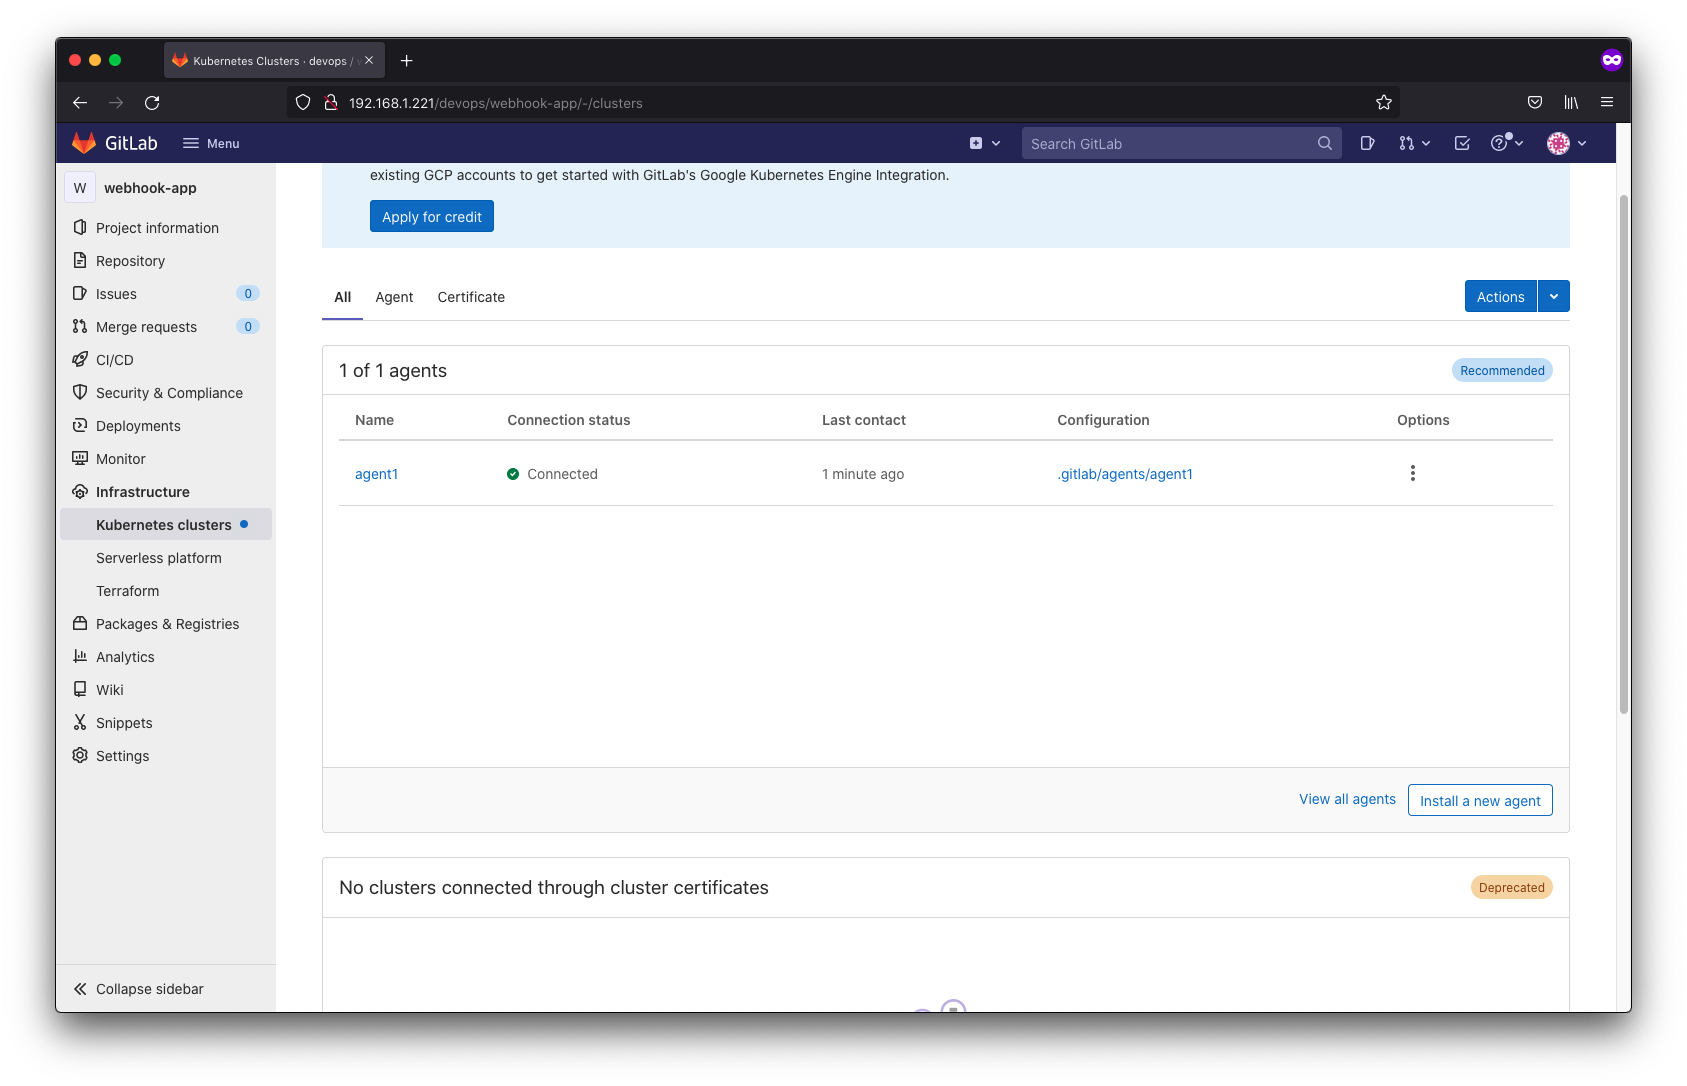
we create a kubernetes-agent which contains information about the other projects that will be monitored by the agent, namely the webhook-app project.
devops@k8s-master:~/part-a/k8s-manifests$ sudo docker run --pull=always --rm \
>     registry.gitlab.com/gitlab-org/cluster-integration/gitlab-agent/cli:stable generate \
>     --agent-token=oKsw2K2fzUD91KXJnDYa5j2wT3ay5Y-ZVpB9VDLZ82k3yynQFQ \
>     --kas-address=wss://192.168.1.221/-/kubernetes-agent/ \
>     --agent-version stable \
>     --namespace gitlab-kubernetes-agent | kubectl apply -f -
stable: Pulling from gitlab-org/cluster-integration/gitlab-agent/cli
2df365faf0e3: Pulling fs layer
c6f4d1a13b69: Pulling fs layer
798d1822cd5f: Pulling fs layer
71a4deb2d4fa: Pulling fs layer
495aaf9276ed: Pulling fs layer
01fd94632652: Pulling fs layer
72ed240a3a17: Pulling fs layer
71a4deb2d4fa: Waiting
495aaf9276ed: Waiting
01fd94632652: Waiting
72ed240a3a17: Waiting
2df365faf0e3: Verifying Checksum
2df365faf0e3: Download complete
798d1822cd5f: Verifying Checksum
798d1822cd5f: Download complete
2df365faf0e3: Pull complete
c6f4d1a13b69: Verifying Checksum
c6f4d1a13b69: Download complete
c6f4d1a13b69: Pull complete
798d1822cd5f: Pull complete
01fd94632652: Verifying Checksum
01fd94632652: Download complete
71a4deb2d4fa: Verifying Checksum
71a4deb2d4fa: Download complete
495aaf9276ed: Verifying Checksum
495aaf9276ed: Download complete
71a4deb2d4fa: Pull complete
72ed240a3a17: Verifying Checksum
72ed240a3a17: Download complete
495aaf9276ed: Pull complete
01fd94632652: Pull complete
72ed240a3a17: Pull complete
Digest: sha256:edaeffc4fc5e5ab2c3b26c2f06775584e17e35f2720fb6d6319789bb613e8cbc
Status: Downloaded newer image for registry.gitlab.com/gitlab-org/cluster-integration/gitlab-agent/cli:stable
namespace/gitlab-kubernetes-agent created
serviceaccount/gitlab-agent created
clusterrolebinding.rbac.authorization.k8s.io/gitlab-agent-cluster-admin created
secret/gitlab-agent-token-tb2m5m7tg8 created
deployment.apps/gitlab-agent created
Actually this will not work even though it says the agent is connected because we don’t have https. kubectl does not send authorization header if target is http.
The certificate way is the only way to get it to work without https. However kubectl only works over https so no luck with http unless you are willing to go through setting up more rolebinding and user account conifguration in kubernetes in a deprecated sort of way but I don’t see a point in continuing down this path.
Let’s just enable letsencrypt and use https
back to gitlab.rb and reconfigure it now.
change letsencrypt['enable'] = nil to letsencrypt['enable'] = true
https://docs.gitlab.com/omnibus/settings/ssl.html#lets-encrypt-integration
then gitlab-ctl reconfigure
To expose our gitlab instance to the public internet and use our own domain name, I use a ngrok. Ngrok is something I use from time to time to experiment quick builds and I have a paid account so I can use it with my own domain.
It creates a secure tunnel and you don’t have to mess with router and firewall setting and it’s very simple kill once you’re done with your one-off thing. Of course one could run it directly on one of the nodes' localhost in the cluster and expose whatever service’s IP:nodeport from that endpoint, but there exists a neat ngrok-operator that makes running ngrok in kubernetes very simple.
helm repo add zufardhiyaulhaq https://charts.zufardhiyaulhaq.com/
helm install ngrok-operator zufardhiyaulhaq/ngrok-operator
kubectl apply -f ngrok.yaml
ngrok start --all --config=ngrok.yaml
Then set up our kubernetes agent again similar to what we did before but with a proper https address this time.
Now that we have both our runner and agent set up, we can then create our webhook-app.yaml file which contains the manifest for our webhook-app’s deployment and service. Then we can move on to the .gitlab-ci.yml to define our pipeline.
For our build stage, We are going to use docker in docker to build our app into a container, tag it with commit short sha and push it to docker hub.
For the deploy stage, we will replace the placeholder
This wraps up our pipeline creation. We can run our pipeline and see what happens.
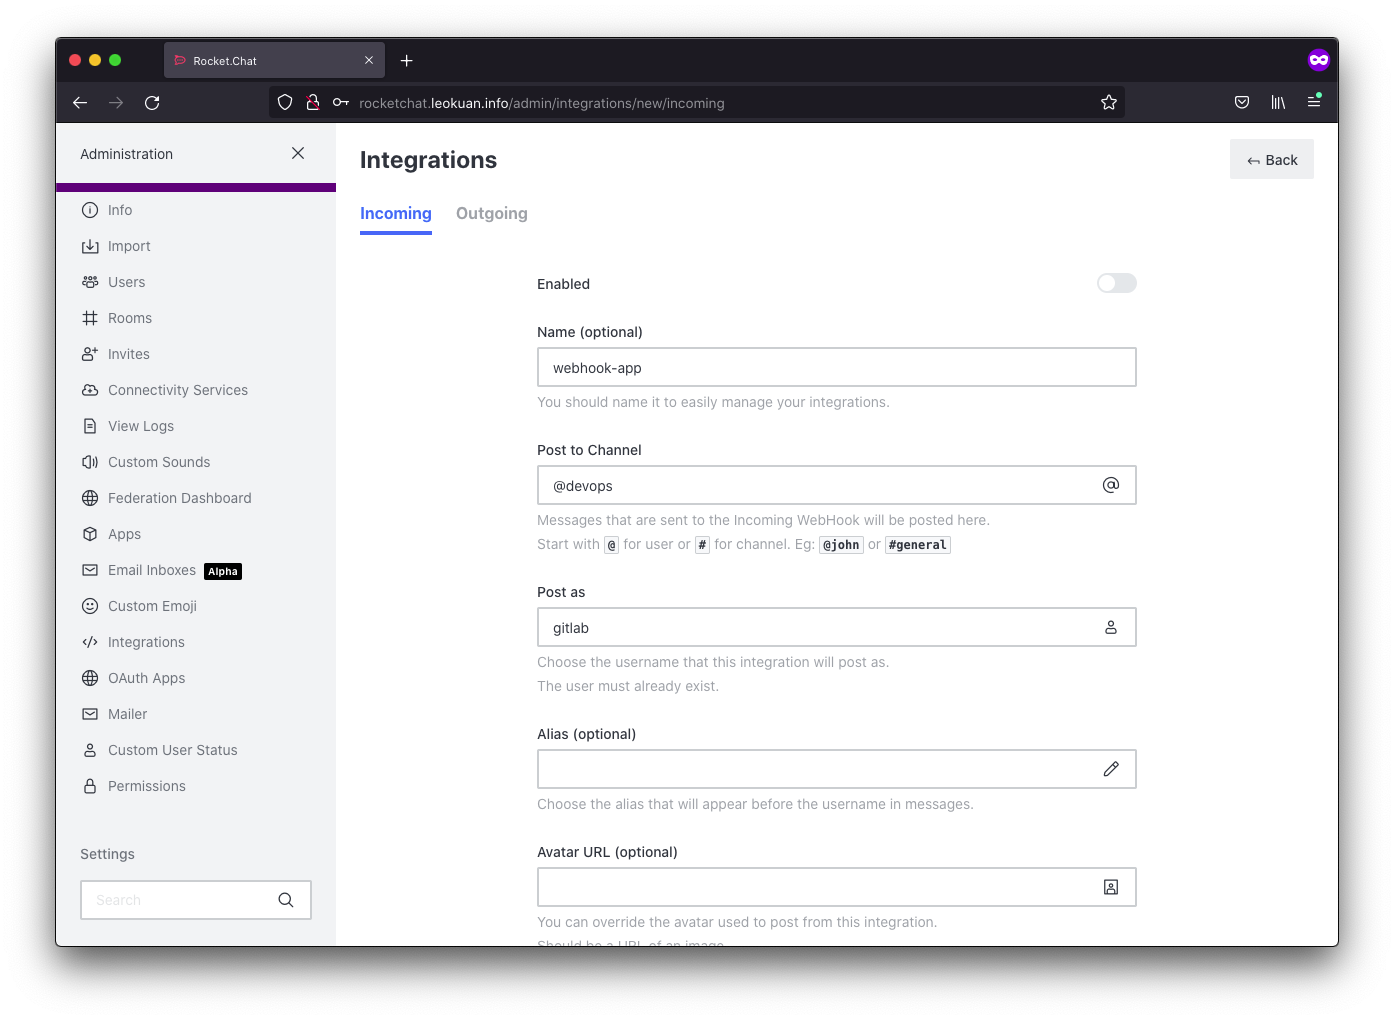
Set up incoming hook under integrations in rocketchat:
first I set up a new bot account called gitlab. Then Under integrations, I created a new incoming webhook.
After it’s saved, the webhook URL and token are generated for this webhook.
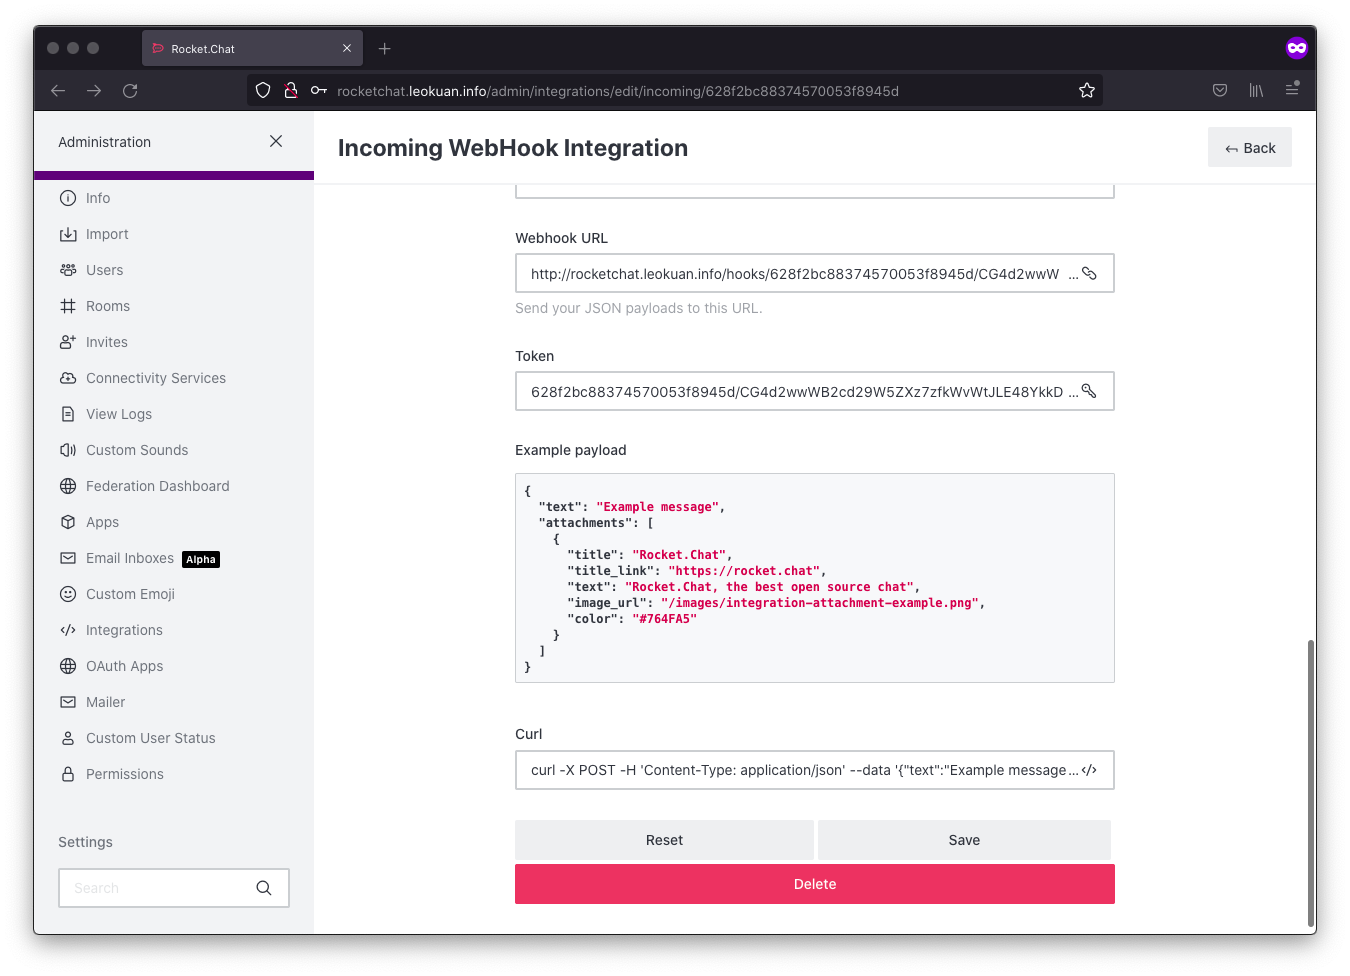
To test it, we can use curl or postman or anything really. show a picture of test
devops@k8s-master:~$ curl -X POST -H 'Content-Type: application/json' --data '{"text":"Example message"}' http://rocketchat.leokuan.info/hooks/628f2bc88374570053f8945d/CG4d2wwWB2cd29W5ZXz7zfkWvWtJLE48YkkDwCBvoduoczgE
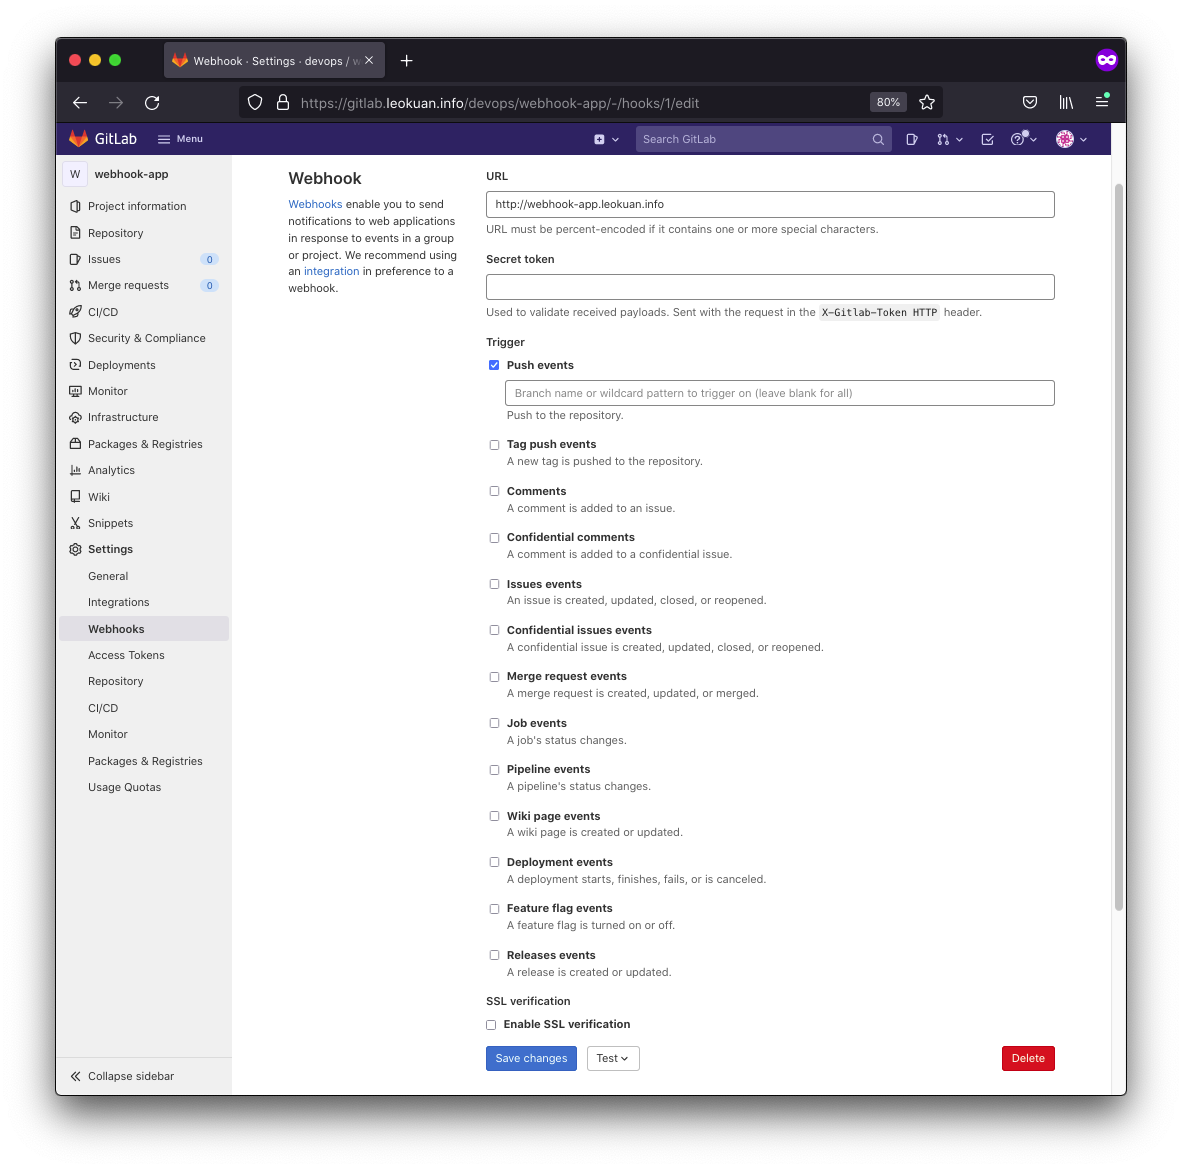
Next, we set up the outgoing webhook in gitlab:
 putting it all together, let’s commit a change and watch this pipeline go.
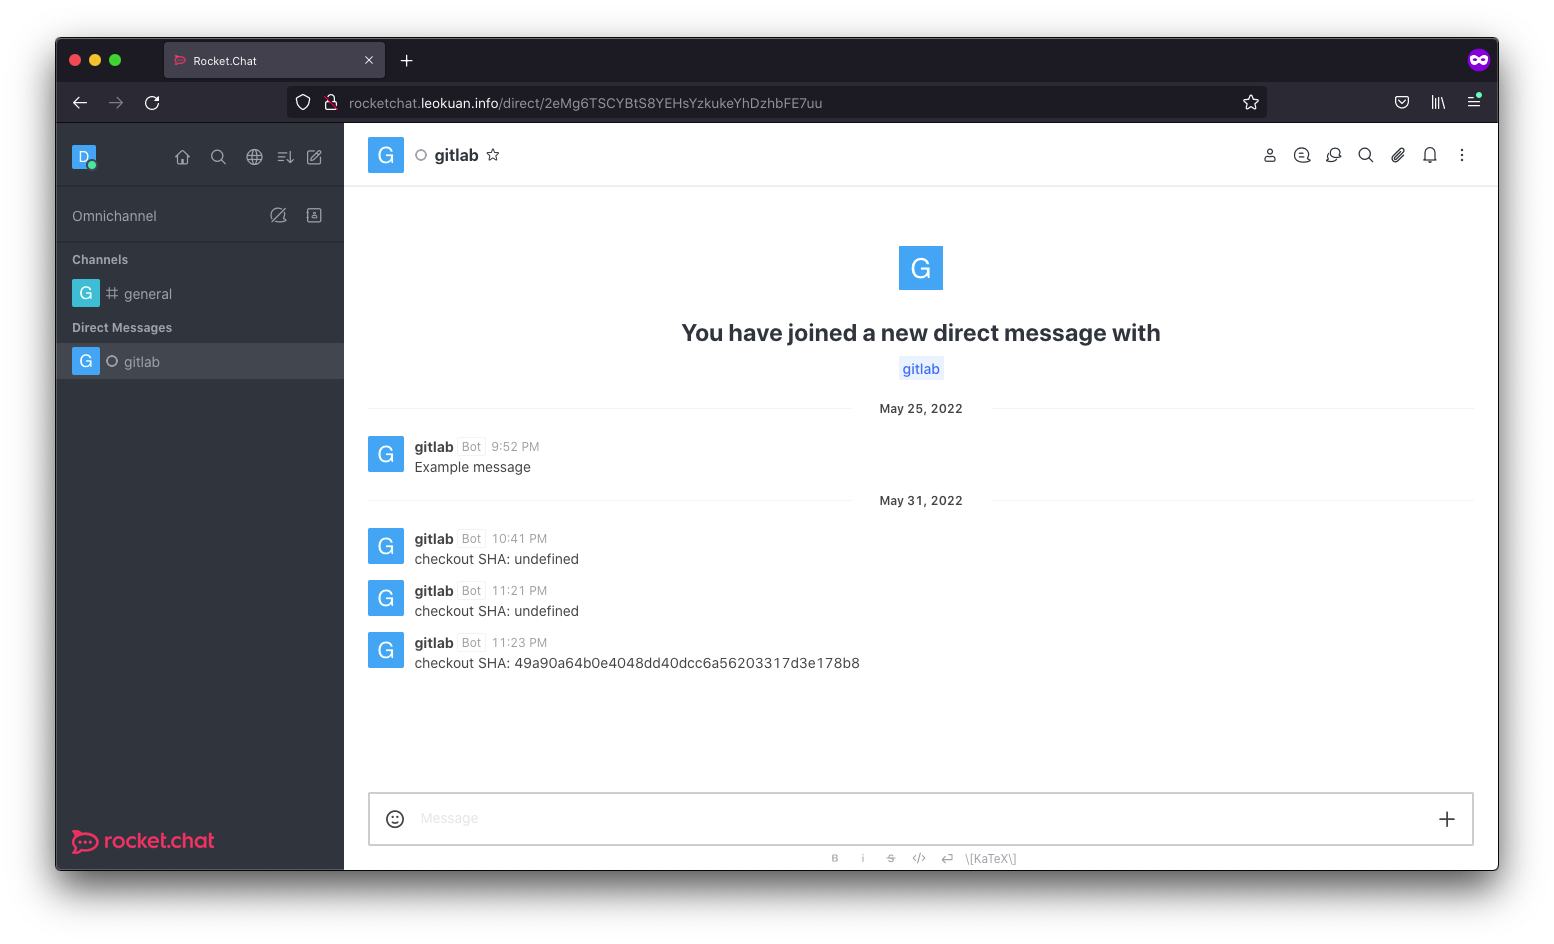
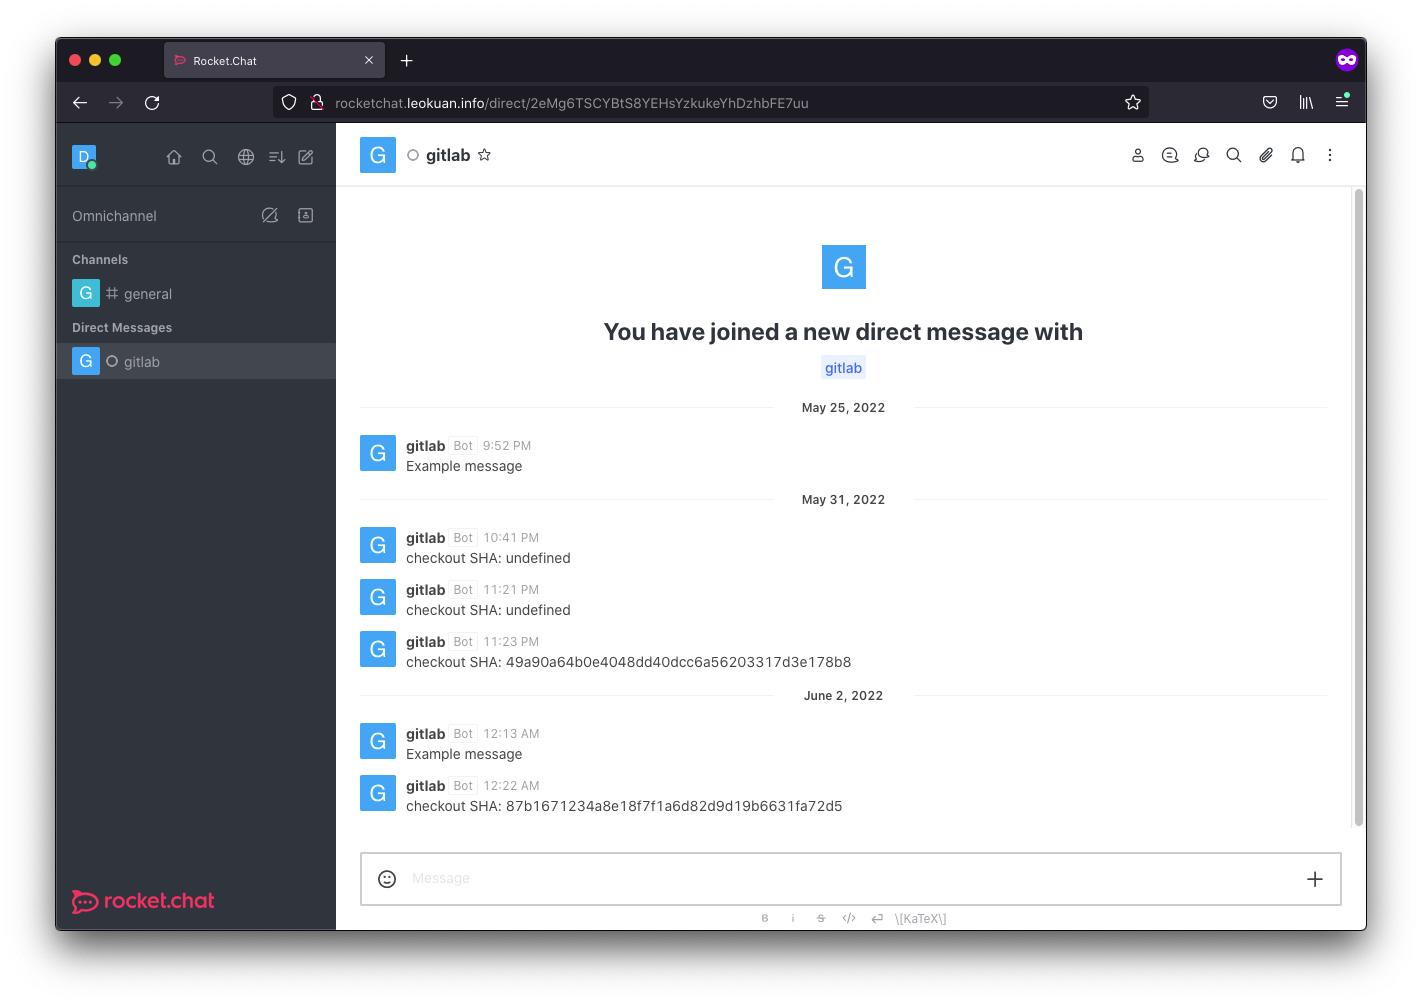
When we commit changes, we get a little notification on rocketchat
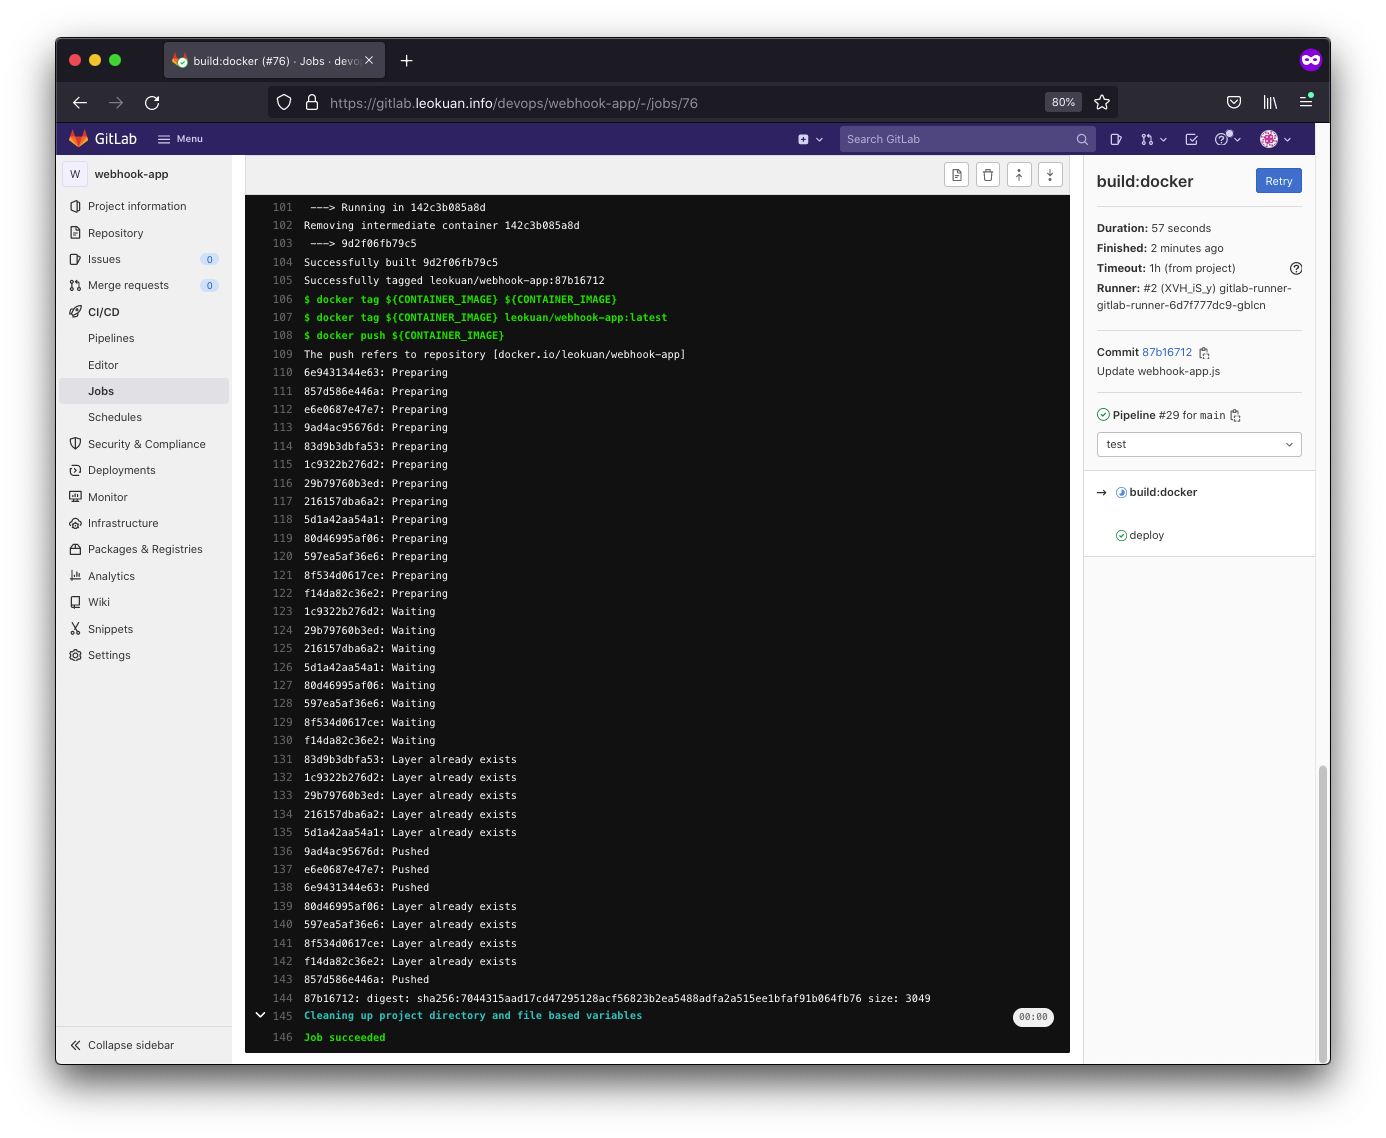
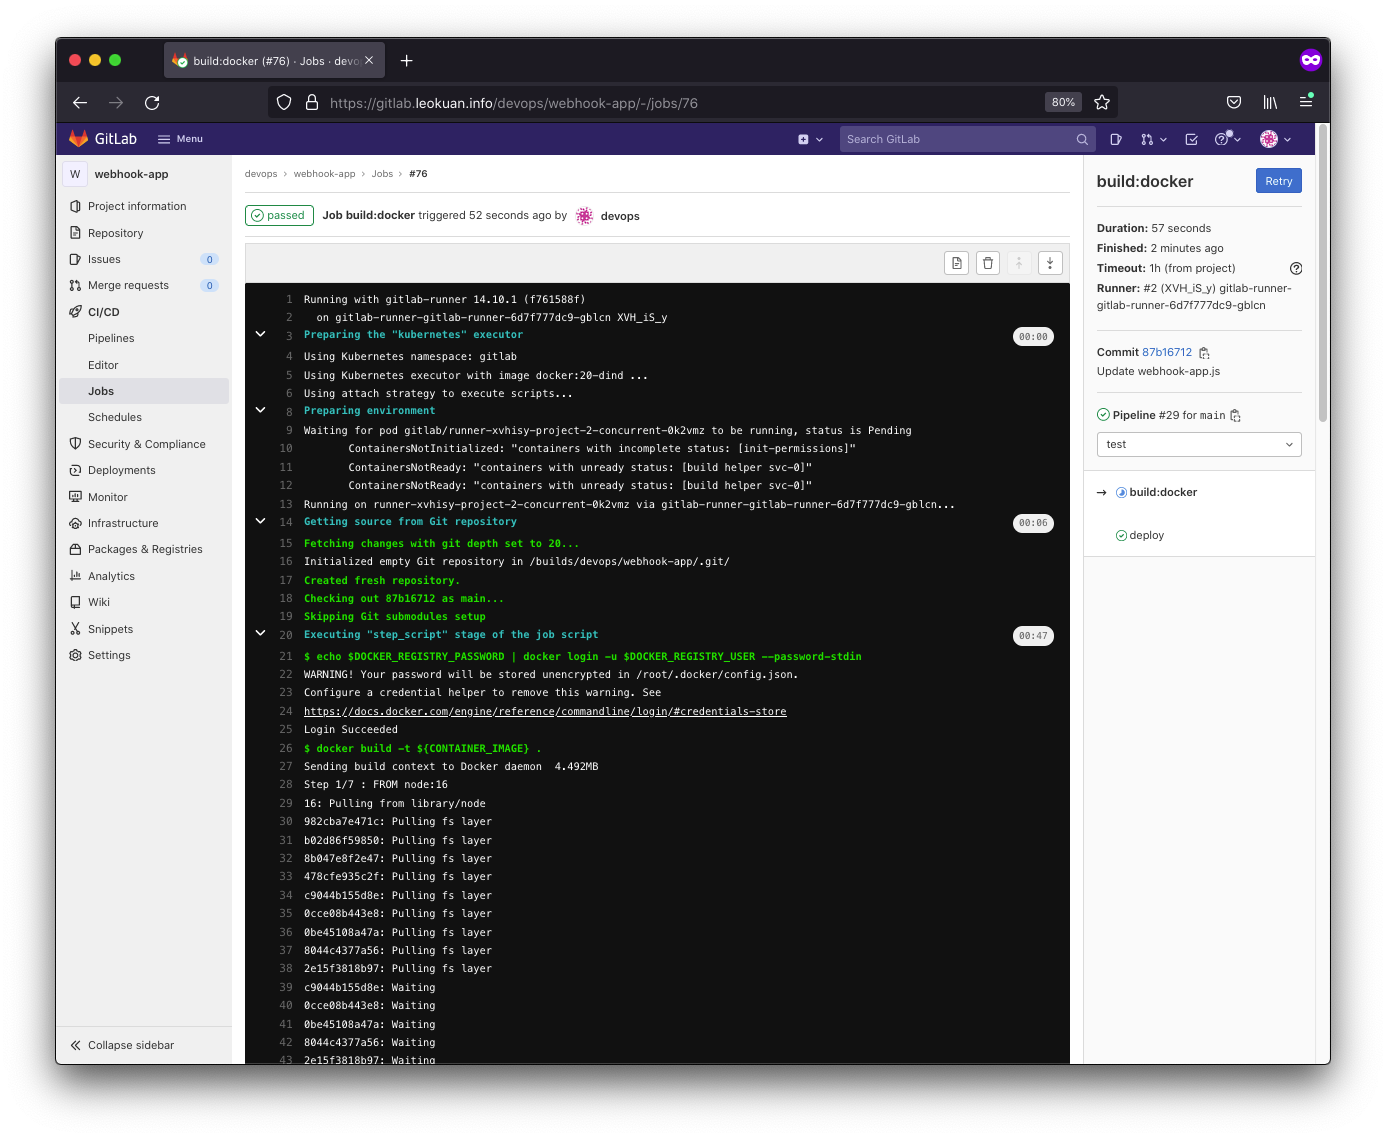
Here’s our build stage:
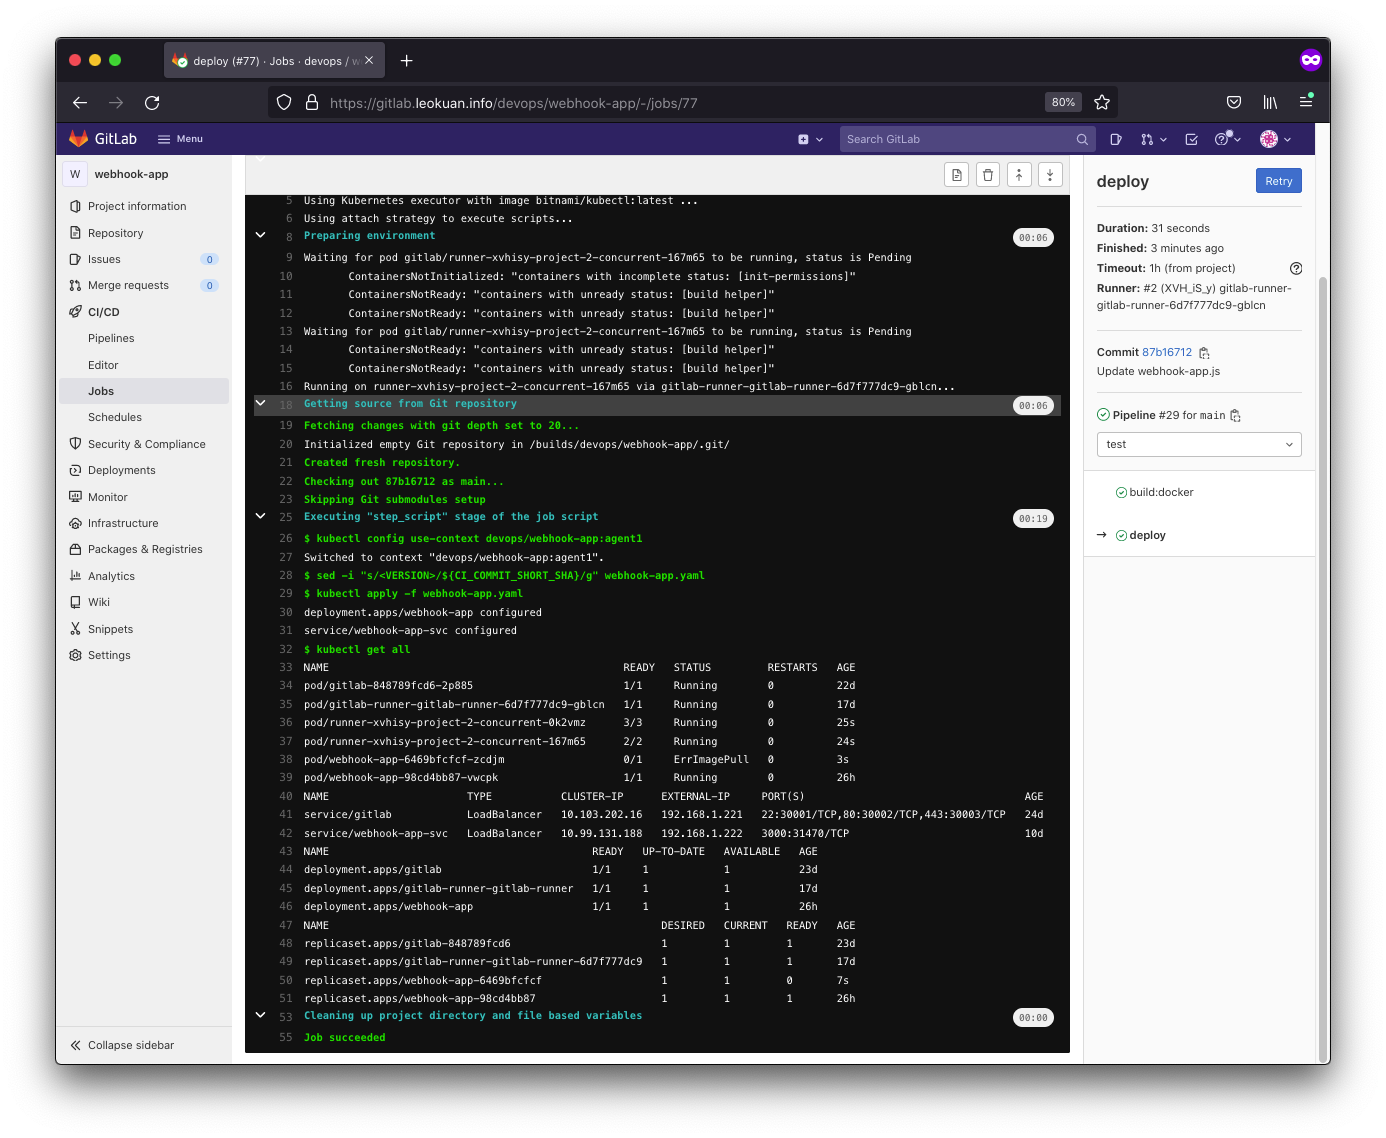
And here’s our deploy stage:
devops@k8s-master:~$ k -n gitlab describe deployments.apps webhook-app
Name:                   webhook-app
Namespace:              gitlab
CreationTimestamp:      Wed, 01 Jun 2022 08:04:20 +0000
Labels:                 app=webhook-app
Annotations:            deployment.kubernetes.io/revision: 2
Selector:               app=webhook-app
Replicas:               1 desired | 1 updated | 1 total | 1 available | 0 unavailable
StrategyType:           RollingUpdate
MinReadySeconds:        0
RollingUpdateStrategy:  25% max unavailable, 25% max surge
Pod Template:
  Labels:  app=webhook-app
  Containers:
   webhook-app:
    Image:        leokuan/webhook-app:87b16712
    Port:         <none>
    Host Port:    <none>
    Environment:  <none>
    Mounts:       <none>
  Volumes:        <none>
Conditions:
  Type           Status  Reason
  ----           ------  ------
  Available      True    MinimumReplicasAvailable
  Progressing    True    NewReplicaSetAvailable
OldReplicaSets:  <none>
NewReplicaSet:   webhook-app-6469bfcfcf (1/1 replicas created)
Events:
  Type    Reason             Age    From                   Message
  ----    ------             ----   ----                   -------
  Normal  ScalingReplicaSet  4m50s  deployment-controller  Scaled up replica set webhook-app-6469bfcfcf to 1
  Normal  ScalingReplicaSet  3m43s  deployment-controller  Scaled down replica set webhook-app-98cd4bb87 to 0
This concludes Part-A of the challenge. In Part-B we will work with Prometheus and Grafana to implement a simple monitoring solution, as well as configure auto scaling to take advantage of metrics.